
10 Garden Lessons That Made the Difference
Special to The Detroit News

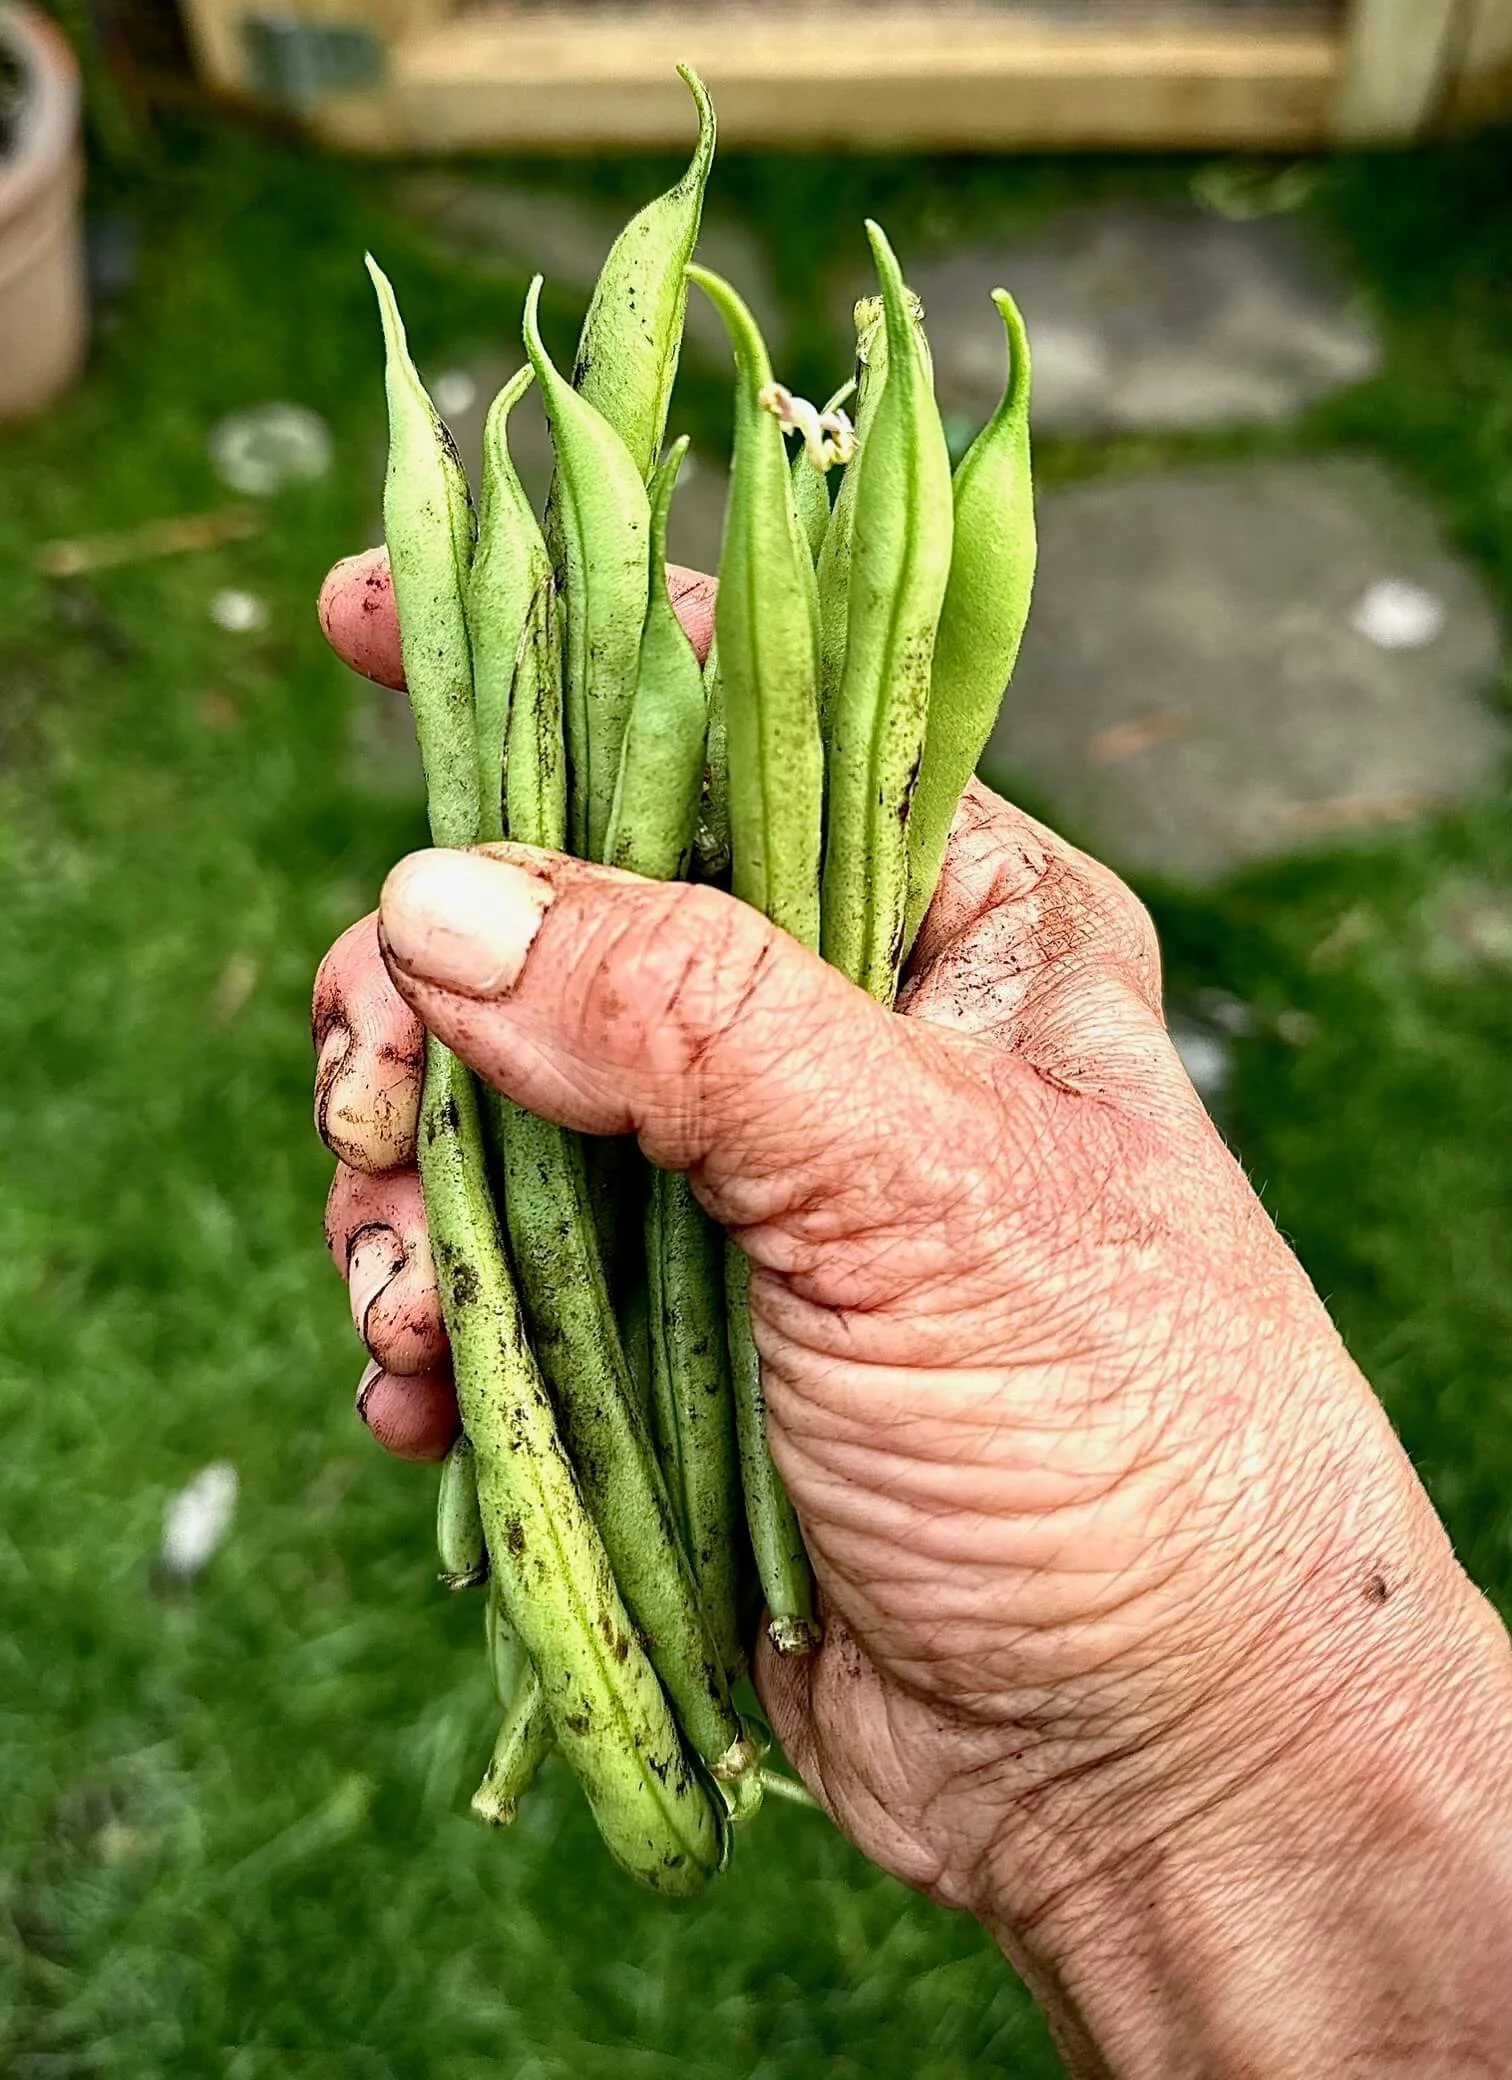
Leave enough space between vegetables so they won’t overcrowd each other.. Michelle Kobernick
I am a chef by trade with a passion for organic farm-to-table dining. Growing or buying local produce is just as exciting to me as cooking it, maybe more so.
Every season begins with a dream of hosting dinner parties that feature my harvests. But the dream fades with an underperforming garden that doesn’t produce enough to feed my guests.
The 33-week video course covered soil biology, planning your space, how to build raised beds, which vegetables to grow, when and how to plant, garden protections, organic fertilizers, nutrients, watering, pest control and harvesting. With a good understanding of these basics, I realized I should have taken this class years ago.
With renewed gardening zeal for 2023, I went outside in March to assemble the nine new galvanized raised garden beds I ordered. I worried the whole time whether they would fit in the 12- by 14-foot enclosure I designed. It was a real victory watching my schematics come to life, as I wedged the last beds into place.
I planted everything I could on time for each type of plant. Some varietals are already on their second crops, like green beans, broccoli cauliflower and cabbage.
Also outside, I have tomatoes, cucumbers, potatoes, carrots, zucchini, melons, fennel, peppers, cauliflower, broccoli, green beans, herbs, greens and beets. The garden requires daily maintenance to keep up with the weeding, mulching, administering of vitamins, fertilizing, trimming, transplanting, watering and harvesting. It’s a lot to manage.
My feelings of gratitude for this abundance overshadows any of the tedious garden challenges I face. Even when a backyard farmer does things correctly, they can still go wrong. But the setbacks always teach me the most, which is invaluable.
For example, I keep a notebook knowing I can’t be trusted to remember all the details for a year. The idea is to avoid repeating the same mistakes in 2024.
Lesson No. 1 is to keep detailed notes and record everything you’re learning. You’ll get a jump on next season by having all the reminders at your fingertips.
In my notebook, you’ll read that planting seedlings too early or leaving them outside overnight before acclimating them to chilly temperatures can kill them. It’s heartbreaking and sets you back a few weeks.
Lesson No. 2 is that hardening off plants needs to be done incrementally. Put them outside a couple hours at a time so the seedlings can adjust slowly.
Lesson No. 3 is to preventatively start more seeds than you need to ensure having enough healthy plants available to put in. In some cases, this can prevent a total loss from poor growing conditions or unfertilized seeds.
Lesson No. 4 is to thin the seedlings so there’s enough distance between the plants. Needing to thin seedlings is a result of the previous suggestion to plant extra seeds. Once they’re up, the weakest specimens are pulled out, leaving the healthiest ones in place.
It’s important to think of the plants as full grown when they go in the ground, so they don’t get overcrowded. It can be deceiving when they’re small and have big empty spaces between them. I fall for this every season and keep paying for it. A great example are my cabbages, currently in a fierce competition for space.
I have no one to blame but myself. The guidelines for everything I need to know about the plants are on the back of the seed package. There’s helpful information about soil requirements, when to plant, planting depth and spacing, the germination guide, light requirements, and days to maturity.
Lesson No. 5 is to understand all the plant instructions before digging begins.
Lesson No. 6 is to understand how tall plants will get before you plant them. Who knew that the foliage from a potato seed could grow to 40 inches tall, the size of a small bush? Rookies mistake, I know. The consequence is constantly wrangling their stalks to expose my carrots to the sun.
Lesson No. 7 relates to the last, which is not to place shorter plants between two taller ones. Try to plant in rows that run east to west, with the tallest plants to the north, shortest to the south for maximum sun. Right now, I have eggplant who need my help to get sun too nestled between some tall climbing cucumbers and tomatoes.
Lesson No. 8 is to expect problems and be proactive about treating them. Yellowing leaves, insect infestations and vitamin deficiencies are common. Keep on hand supplements like magnesium, calcium, and Bt spray, a biological insecticide that controls worms. Neem oil is a naturally occurring pesticide from the seeds of the neem tree, which helps prevent insects, mites or fungi. Without intervention, some conditions can destroy the plant and the fruit. It’s very deflating to find the baby zucchini going bad before it has a chance to grow.
Lesson No. 9 is to perform regular bug checks on your plants for pests and research your treatment options. This is where the more observant gardener gets to eat better. There’s no need to go into a panic or pull out all the brussels stalks when you find a family of cabbage worms munching on them. Caught early, you can save them by removing the eggs and worms by hand and applying some Bt spray.
You Have Options
I know not everyone wants the hassle of growing fruits and vegetables themselves to get locally grown produce, nor is this necessary.
Good quality local produce is available at farmers markets and grocery stores during the peak of our growing season. Local produce not only tastes better, it’s also better for you. It’s harvested at peak flavor and nutrition, which remains intact because of the shorter distances these foods travel to reach you.
According to Michigan.org, Michigan farmers generate 300 different types of foods and agricultural products. We are second only to California for agricultural diversity, and at the top of the list for tart cherries, beans, potatoes, asparagus, pickling cucumbers and squash. We are also main producers for blueberries, tomatoes and peaches.
But the season is short, which limits our access to premier fruits and vegetables like these.


Lesson No. 10, whether you’re growing your produce or buying at farmers markets, is to learn how to preserve some of it so you can enjoy it in the off season. (See sidebar below on storing and preserving.)
Putting It All Together
Growing your own produce is rewarding but purchases at local farmers markets and grocery stores are still important. They help support Michigan agriculture, our local economy and helps reduce the carbon footprint from long-distance transportation.
Whether you enjoy the abundance of your garden or buy it locally, it’s a waste of time and money when produce isn’t stored correctly. Some things will hold for the short term and can be used fresh, but no family eats 10 pounds of zucchini at one sitting.
Regardless of the method you choose, proper storage allows you to take full advantage of our local abundance both now and later. It keeps the nutritional benefits and flavors intact, giving you access to the sweetness of peak Michigan produce all year round.
Don’t Let It Go to Waste
Here are some storage tips to get the most from your bounty.

Shorter Term Storage
Vegetables such as garlic, onions, potatoes and squash need some time to harden before storing. Curing is done when they are left at warm temperatures over time, allowing them to dry and prevent premature rot. Once cured, they can be stored between 50 and 60 degrees with mild humidity, likely in a basement.
Cabbages, parsnips, corn and potatoes do well at cooler refrigeration temperatures 32 to 40 degrees with higher humidity. Green beans snap peas, cucumbers, eggplant, melons and sweet peppers do better between 40 to 50 degrees.
Long-term Storage Basics
Researching long-term preservation options, I found the most popular ways to preserve foods falls into three major categories, which include freezing, canning and drying. These may take extra time, but the nutritional benefits are worth it, and so is the money it can save you.
No. 1 Freezing
The shock of the ice water stops certain enzymatic reactions that cause loss of vitamins, flavor, color and texture. It also shocks the chlorophyl into place, making it a vibrant green color while removing dirt, bacteria, and microorganisms from the surface. I recommend cutting vegetables for the size of your favorite recipes to save you prep time when you’re ready to use them.
Still too much work? No problem. Bypass the labor and still support Michigan farmers by leaning on the Traverse City experts from Michigan Farm to Freezer. They partner with small to midsize local farmers to process fresh harvests in small batches. Their gorgeous products include, but are not limited to, apples, blueberries, peaches, strawberries and tart cherries, asparagus, broccoli, root vegetables, carrots, potatoes and specialty blends.
Their products can be found at grocery stores throughout the state in frozen 2# bags in the produce or freezer section. There are also home delivery options available for qualifying zip codes on their website at mifarmtofreezer.com.
Freezing is the food storage method I rely on the most as a chef. I’m lucky to have adequate freezer space, but don’t always love the energy costs related to it. Outside of its bigger carbon footprint, freezing is easy to do, and one of the most popular techniques around.
Freezing requires little equipment and leaves foods closest to its actual taste and nutritional quality when done properly. It’s also great for cooked foods like sauces and soups. Sometimes softer fruits and vegetables become mushy, which may limit the ways you can use them.
You need to blanch certain green vegetables like broccoli, peas or green beans before freezing for best results. Blanching involves the placing vegetables into boiling salted water for a few minutes, then quickly plunging them into an ice water bath.
No. 2 Canning
Canning is the most labor-intensive method, and includes prepping the vegetables, cooking the food, sanitizing the jars, and vacuum sealing them closed. It can be a heavy equipment investment on the front end, but everything is reusable, except for the jar lids.
Canning is done in two ways, either by water bath or pressurization. Water bath canning is used for acidic foods like tomatoes and pickles. Pressure canning is used for lower acid or combination of low and high acid foods like vegetables, jams and sauces. The ingredients that you’re working with dictates the method to use.
The upside to canning, when done properly, is that it doesn’t rely on any electricity to remain safe to eat. Canned foods are shelf stable for around 18 months, which will get you through the chilly winters with extra to spare.
Some such foods as pickles jams and jellies, require additional ingredients for food safety. Salt, sugar and spices are preservatives that are critical to prevent spoilage. Even small errors in processing can result in high pathogen spoilages with devastating consequences. I recommend investing in some education before giving it a try, or at least find someone with a grandparent who taught them how to do it.
Michigan State University offers a class for $10 that is virtual or in person and covers everything from freezing, blanching, jam and jelly preserving, pickling and water bath canning. It’s a self-paced program that uses the latest science to help you avoid dangerous or life-threatening contamination. They also host preservation events that relate to specific vegetables. You can find out more at canr.msu.edu.
For $25 to $99, there’s also Dianne Devereaux in Grand Rapids, the owner of the Canning Diva. She has multiple resources and teaches classes either in person or virtually through her Canning University. There are step-by-step lessons and tutorials for each stage of the process while learning the basics. Her website, canningdiva.com, offers recipes, resources, podcasts and retail products to support your efforts.
No. 3 Dehydrating
Dehydrating is one of the oldest food preservation techniques around and makes foods shelf stable from four months and up to one year. Dehydrating takes between 6 to 14 hours at between 95 to 145 degrees, but it is not all active. It requires prepping the food and sometimes blanching for best results. But once the food is drying, you are free for several hours to do other things.
Dehydrating removes the moisture from foods, which makes it impossible for molds, yeast and bacteria to grow and spoil them. It also concentrates the nutrient value and flavor while shrinking their size, which requires less storage space. Dried foods can be reconstituted and added to soups and stews or enjoyed as a healthy snack.
Investing in a countertop dehydrator runs between $40 and $400, but foods can also be dried by air or by sun, or in a low temperature oven. If you purchase dried foods, dehydrating is a worthwhile method. Dried fruit can cost close to $20 a pound, and fresh herbs between $4 and $12 for just a few ounces.
This story originally appeared in The Detroit News in August 2023.