
Sow Easy: Get Started On Your Garden Now
Special to The Detroit News
It’s not too early to be thinking about your summer vegetable garden. The chilly temperatures are moving out quickly, and warmer weather will be here before you know it.
One way to get the most out of this growing season is to start seeds indoors now. It’s easy to do, requires little equipment, and provides you with plants that will jump-start your garden once we finally turn the corner.
According to Almanac.com, Michigan is in zone 6, meaning in 2024, we are expected to be frost free between May 2 and Oct. 16. That gives us 166 days, or close to 24 weeks, of glorious growing time this summer.
Another place to learn about the length of your area’s growing season by ZIP code is planthardiness.ars.usda.gov. There’s an interactive map that estimates the date of your last winter frost and first freeze in fall.
Timing Is Everything
First, you’ll need to know which vegetables you want to grow. Vegetables typically fall into two different categories, either cool weather or warm weather.
Cool weather vegetables can handle light frosts and temperature swings. They are hearty and include, but are not limited to, broccoli, cabbage, kale, lettuce, radishes and turnips. These can be planted up to four to six weeks before the last winter frost. It’s possible to get two seasons out of them when the temperatures are cooler, one in early spring and another in fall.
Warm weather varietals, such as tomatoes, zucchini, eggplant and peppers, are more sensitive and cannot tolerate cold temperatures. They need to be planted closer to the last frost date of May 2. It’s sometimes safe to put them in around 10 days early, but only with a 10-day clear, frost-free forecast.
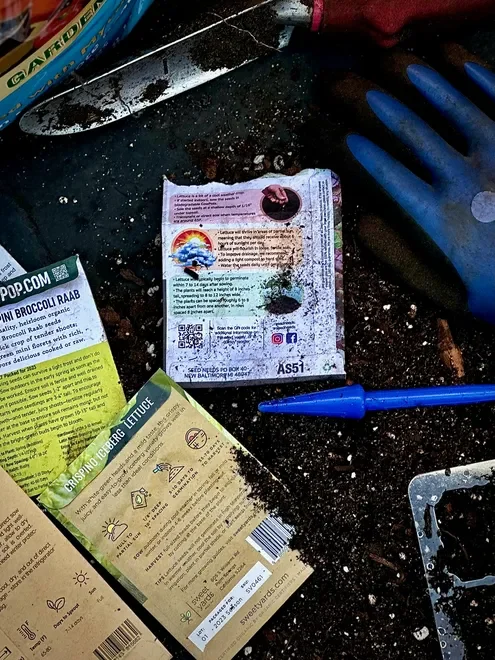
Be sure to study the back of the seed package for instructions before planting.
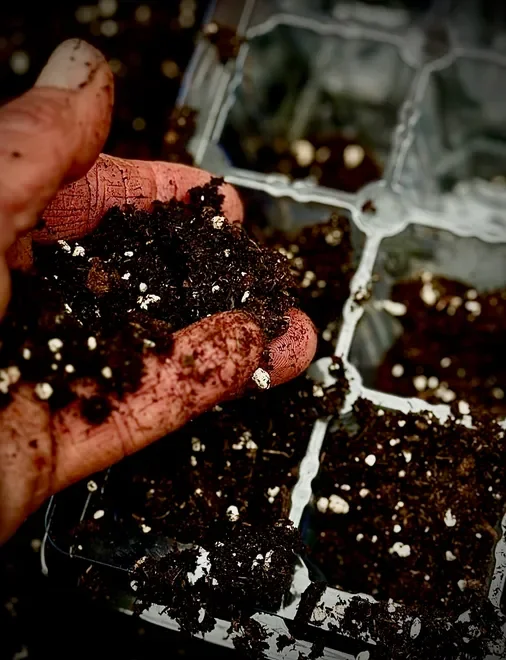
Use a seed starter mix when planting seeds for best results.
Setting Things Up
To begin, read the back of the seed package. It has key growing that tells you the germination rates and temperatures, whether to start seeds indoors or to sow outside, the type of soil and fertilizers the plant needs, spacing and planting depths, common diseases and pests, and harvesting instructions.
Find a place in your house near a window with direct sun, or a space where you can set up artificial LED lights around 10 inches above the tray. Not all seeds need direct light to germinate, but once they sprout, they require around 15 hours of light. If the area is below 68 degrees, you will also need to add a heating mat underneath the plants. Ideal germination temperatures fall between 68 and 86 degrees. Seedlings also require 50 percent humidity, which can be achieved with a small spray bottle.
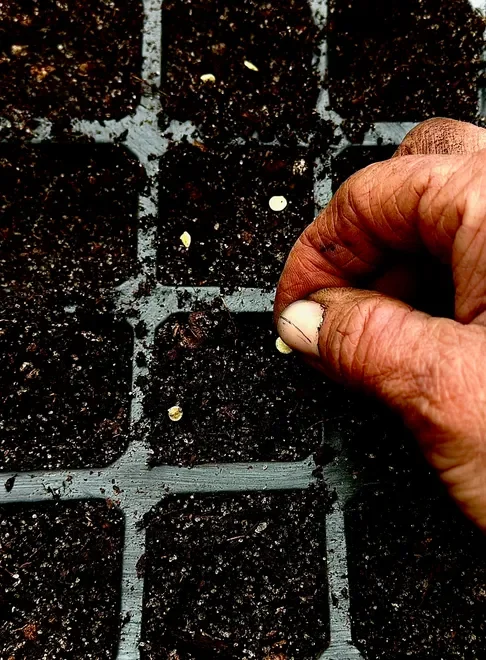
Put more than one seed in each cell slightly apart from each other.
The remaining tools needed include a large tray or bin to mix and contain the soil, seed starting trays with drainage, watering tray and clear cover, seed starting mix, seeds, plant markers and pen, a small watering can or spray bottle, potting soil, fertilizer, garden scissors, and garden gloves if you want to keep your nails dirt free.
Getting Started
Next, label one plant marker for every type of seed you’re planting to identify what’s going in each row. Unless all the seeds are the same, it’s easy to forget what’s in each row once they sprout a few weeks later. Young seedlings often look alike, which will make it confusing when it comes time to transplant them.
Pour seed starting mix inside the tub. Wet the mix, using a little water at a time, until it’s damp and sticks together loosely. Seed starting mix is typically soilless, with a finer texture to promote good root growth. It’s made from peat moss, perlite, coconut coir fiber and vermiculite.
Seed starters can hold water without being soggy, which prevents mold and fungi. It’s available online or area garden stores. You can make your own using this HGTV recipe, by mixing 4 parts compost, 2 parts peat moss and 1 part each perlite and vermiculite.
With a drainage tray underneath, fill each cell loosely with the dampened soil, and pack it two-thirds full. Fill it the rest of the way loosely with more seed starting mix. Open the seed packet without damaging the directions, and place more than one seed in each cell in different spots.
Push the seeds gently into the soil with a pencil or tool to the recommended depth on the package. A good rule of thumb is that seeds should be planted at a depth twice their size. Press some mix together over the hole to cover the seed. Planting extra seeds increases the germination odds, giving you several viable samples to choose from.
Gently water each cell from above with an indoor watering can or spray bottle to pop the air bubble around the seeds. Alternatively, they can be watered from below by filling the drainage tray with one-half inch of water. Once the cells absorb enough to dampen, drain the excess water from the tray. Check the moisture levels throughout the day, adding more water if they get dry.
Cover the seedlings with a clear top or plastic wrap to hold in the moisture. Put the tray by the light source or on a heating pad if using. Check daily for germination and release any excess condensation by lifting the cover. Remove the cover after the seedlings have sprouted.
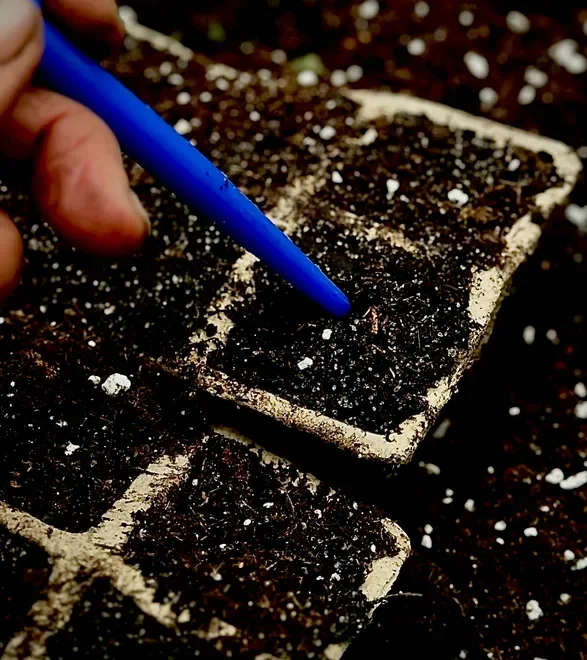
Use your finger or an implement to push the seed into the soil.
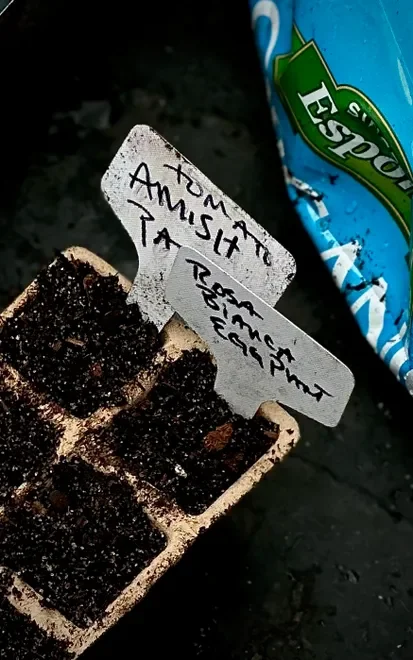
Always use a label to identify your plants as many seedlings look alike.
Thinning The Seedlings
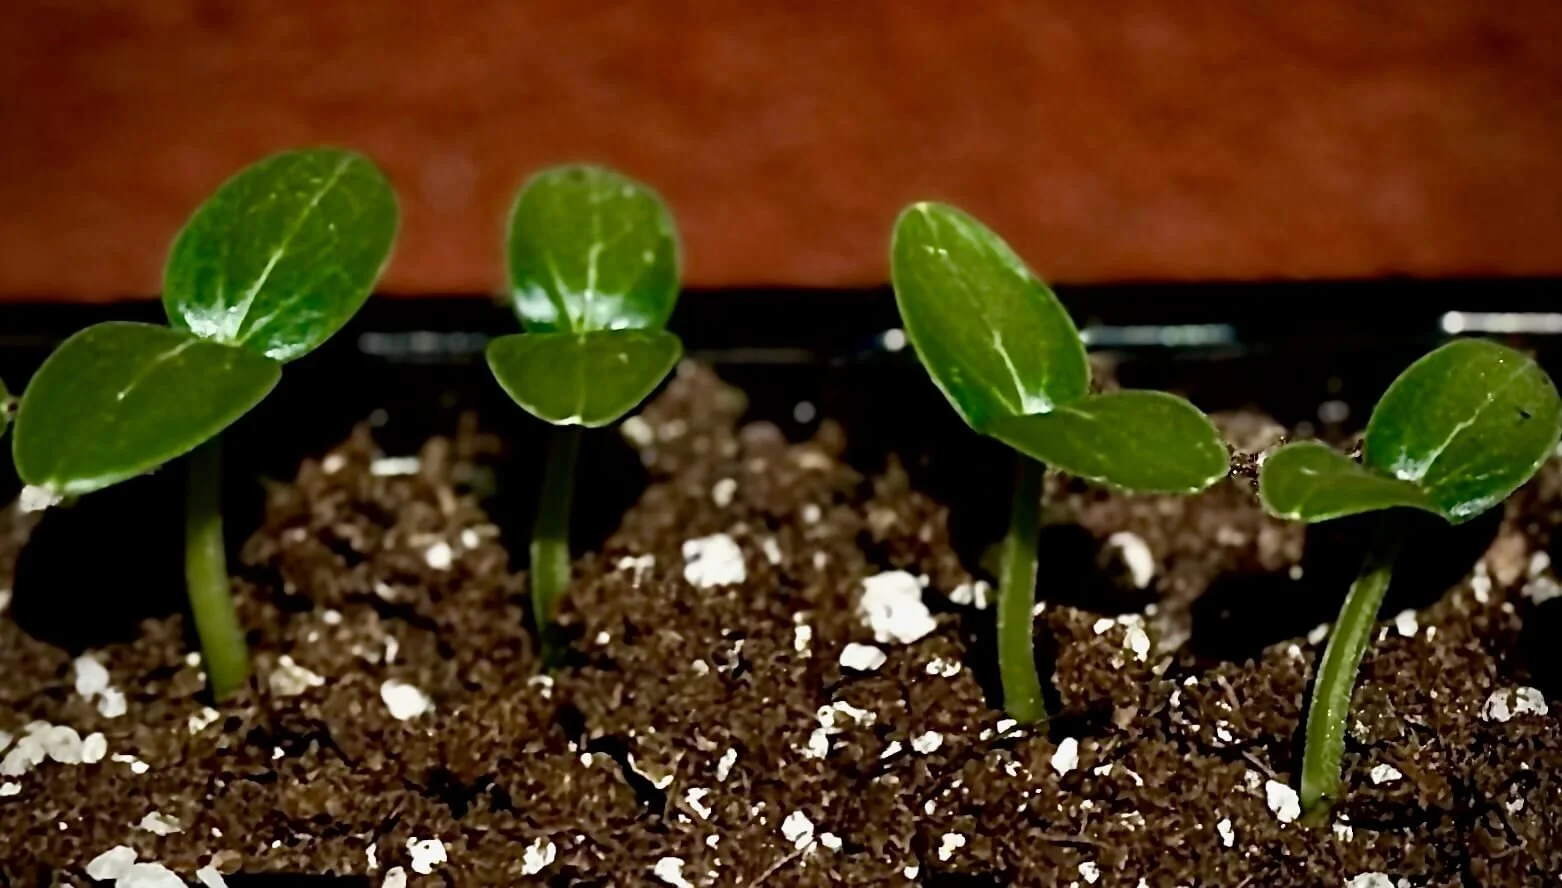
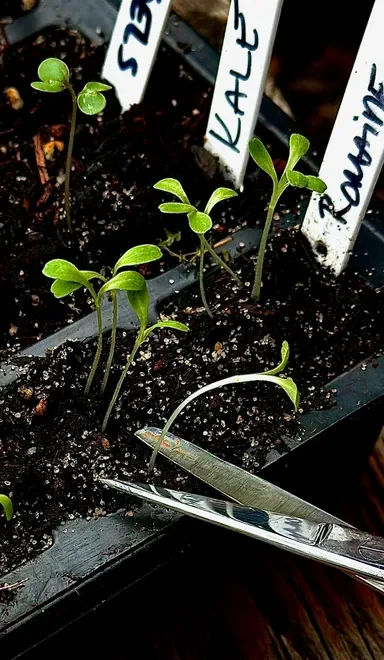
Once seedlings have developed true leaves, or a secondary set, it’s time to cull or thin them. You can separate multiples and replant them into their own spaces, but it needs to be done very carefully. Seedlings are delicate at this stage.
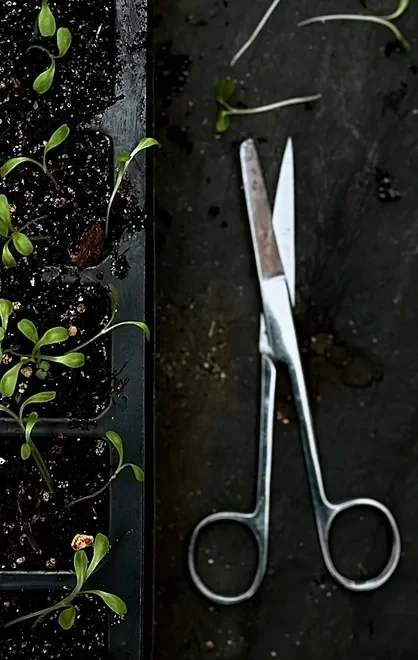
Use a small pair of scissors for thinning by cutting the stems of all but the healthiest plants at the ground level. Avoid pulling them out to prevent jostling the roots of the remaining plant.
True leaves also indicate that the seed’s energy reserves have been depleted and fuel is needed for the next growth stage. There are synthetic and organic fertilizers on the market, which are water soluble and easiest for the plant to absorb. Look for one with a 1-part nitrogen, 2-parts phosphorus and 1-part potassium ratio.
Fertilizers tend to be strong for seedlings and can easily burn them. Unless yours is made specifically for seedlings, cut the recommended amount in half. For a slower-release option, you can mix a granular version into the soil, such as Happy Frog Organic Fruit and Flower. Plan on feeding young plants once a week, unless they start growing too fast and become lanky.
Remove the weakest seedlings from the cell keeping the strongest sample in place.
Cut the stem of the seedling at the ground level with sharp scissors to thin them.
Getting Tougher
At this stage, if it’s still too early to take your seedlings outside, you can transplant them into a bigger pot first. But once they’re big enough and the weather is agreeable, they can be taken outdoors. But they will need to be hardened off first before you start any digging.
Hardening off is the process of acclimating your seedlings to the elements by exposing them a little at a time. Start by putting plants outside in a shady spot for a few hours on the first day. The next day, add two to three hours in the sun, then the shade the rest of the day. Increase the sun exposure by an hour each day, ultimately reaching nine hours of full sun. Seedlings should not be left outside overnight in temperatures below 60 degrees.
You can transplant seedlings into pots for more space if it's too early to plant them outside.
Keep the roots and dirt in tact when removing seedlings from trays.
A Big Move
To plant, first prepare the beds by loosening the soil and adding amendments such as compost, fertilizer or worm casings. Prepare a hole that’s twice as deep and wide as the plant.
Water the seedlings well before moving them. To release them from a small pot, turn it over into your hand and gently tap the bottom. To extract from growing cells, use a tool like a mini trowel, fork or tongue depressor to remove it from underneath. Do your best to keep the soil and root ball in-tact.
Place the plant, root-side down, into the prepared space to the same level it was previously growing in the cell. Fill in the hole with enough soil to cover the roots and water the plant well.
Always water the plant well after moving it to a new location.
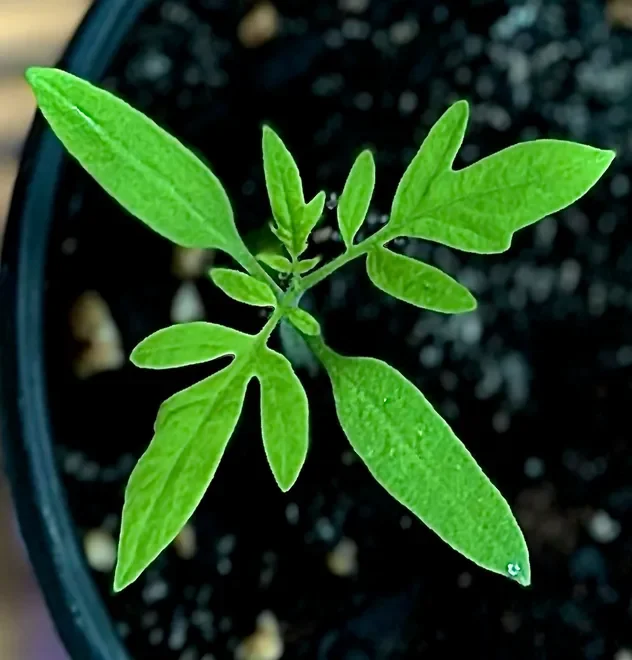
True leaves are a sign that the seedling is ready for transplanting and supplemental food.
Small Plants, Big Difference
If you want to grow vegetables, and starting the seeds indoors doesn’t work for you, that’s OK. You can purchase already potted plants from the local nurseries in early spring. If your space is limited, try growing patio tomatoes, a bowl of salad lettuce or a few pots of herbs. Having them available right outside your door is not only convenient, but deeply gratifying.
Plus, they add a fresh and seasonal flavor boost to your cooking all summer long.
This story originally appeared in The Detroit News in March 2024.